Dragon Eggs – Moeraki Chaos
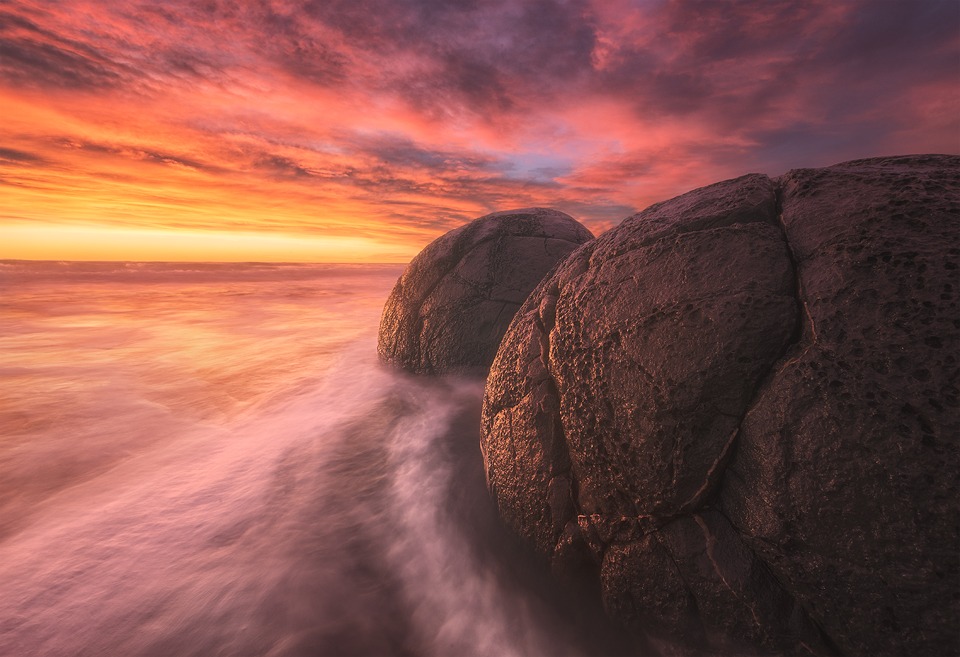
Dragon Eggs at Moeraki Boulders
I just spent an hour writing this post, which was originally about the two recent ‘controversies’ in the photography community (Steve McCurry photoshopping his images, and someone copying Marc Adamus’ composition), where debates among photographers were heated. My post pretty much said, life’s too short to argue with a stranger on the internet about first world problems. There are better things we can be doing with our time.
Then I realised I could be doing better things with my time than writing about these ‘issues’, and life is too short, so I deleted the post and started afresh. I always avoid arguments on the internet and try to keep a ‘good’ perspective on what’s important.
So with that in mind, I will share an interesting story with you:
Yesterday morning I was in a nice hotel in Melbourne. It was our first morning in Australia. We went to breakfast, which was a delicious buffet. We were given sachets of tomato ketchup that have little slits in them so you can get the sauce out with a little squeeze.
My sachet was broken so I brought it closer to my face and squeezed it. The sachet wasn’t broken. But now most of the ketchup was no longer in the sachet. I looked like I’d suffered a terrible accident. My face was literally covered in tomato ketchup.
The best thing was, nobody in the whole restaurant saw it happen! My wife was by the buffet and no one was looking in my direction. If they’d looked around they would have seen a man covered in tomato ketchup. How often have you seen that in public?
I wiped my face and t-shirt quickly. By the time my wife arrived she was none the wiser. I felt pretty proud of myself.
________________________________________________________
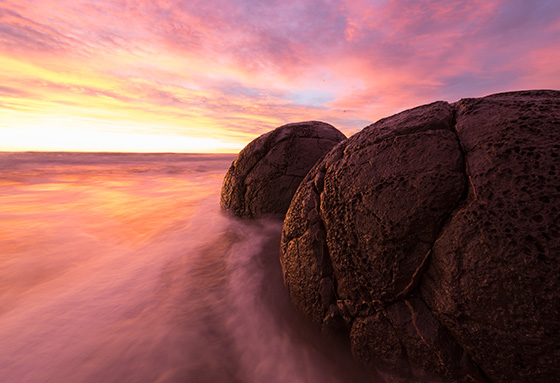
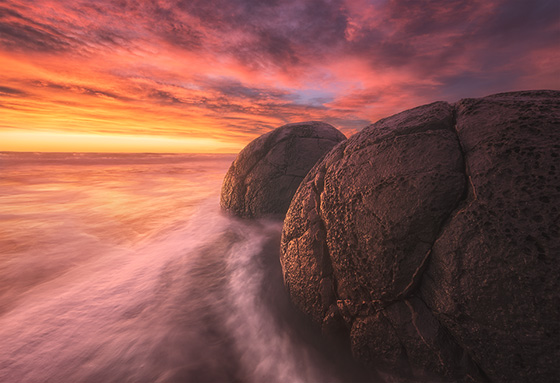
How I Created The Image – Before/After Post-Processing


The Cool Bits -Technical Info
Processing Time: 40 minutes
Exposure Blending method: Apply Image in Raya Pro
No. of Exposures: 2
EV Range: +1, -2
Aperture: f/16.1
ISO: 100
Focal Length: 14mm
Lens: Nikon 14-24 f/2.8
Camera: Nikon D800
Plugins: N/A
Luminosity Masks: used to create softer shadows
Workflow Explanation -Dragon Eggs
This image was created using Raya Pro – The Photoshop Plugin.
This was a real challenge to shoot. There were about 15 photographers on the beach, but only two of us were in the water, close to the rocks. They probably made the right decision. In the end, I was drenched from head-to-toe. The waves kept crashing onto the rock, into my camera, and over me.
I went through 2 packets of tissues, keeping the lens dry. But you know how it is: when you’ve got an image in mind, you just keep at it until it works out. It took 30 or so exposures to get a workable set of brackets.
This image is composed of two exposures, 3 stops apart. They were blended using Apply Image in Raya Pro. Once the mask from Apply Image had been generated, I then dodge the highlights on the mask just to make sure all of the sky from the darker exposure came through.
I created a couple of contrast adjustments, brightening the highlights and softening the shadows. I love the texture in the rocks, but I reduced the blacks, just a little bit because they were too distracting. To target the shadows this way, I used a Brights 5 luminosity mask from Raya Pro.
I then dodged and burned with a warm colour, just on the side of the rocks facing the sun, to add a warmer brightness to them. I also dodged the water a little in the foreground, empasizing the line of water running along the side of the rock.
For a softer, feel I added the dreamy Orton Effect that I like to add to my landscapes. You can see how to do that here, if you don’t use Raya Pro: Quick Photoshop Secrets 7: How To Create a Dreamy Orton Effect
And I finished by creating a custom vignette that you can learn to do here: Quick Photoshop Secrets 9: Awesome Vignette For a Moodier Scene.
Finally, the image was sharpened and resized using my free sharpening tools, which you can download here: Quick Photoshop Secrets 16: Perfect Sharpening & Resize for the Web
As always, I hope you found this useful.
Jimmy

This entry was posted on Monday, May 16th, 2016 at 1:57 pm
You can follow any responses to this entry through the RSS 2.0 feed.


Awesome one Jimmy 🙂 can u recheck the Before & After slider looks like the writeup is on wrong side… 🙂
Thanks for letting me know!
Hey Jimmy! Awesome image! Do you write in the cool bits section “Luminosity Masks: used to create softer shadows and select the tree” on purpose by every image lately? 🙂
Hi,
Thanks for letting me know. I’ve just changed it 🙂
I’m curious about McCurry, but this is better. Good on ya! 🙂
Welcome to Oz Jimmy, big fan of your work. And I totally hear you about the 500px comment drama about “comp stomping” etc. Some egos in the tog community really blow me away.
Oh yeah, and it’s called tomato sauce here mate. 😉
hi,
I send you an email a few days ago … videos are transcribed in pdf ?
Hi Jimmy,
interesting write-up, thanks. The after image makes the rocks look a bit washed out in my taste, it seems as if there is some kind of white mist around them.
The rest of the image just rocks (no pun intended) 😉
Love your work. Love your sense of humor (and perspective on what’s important in the world ). BTW, was the soft effects on the waves achieved from long exposure or post processing?