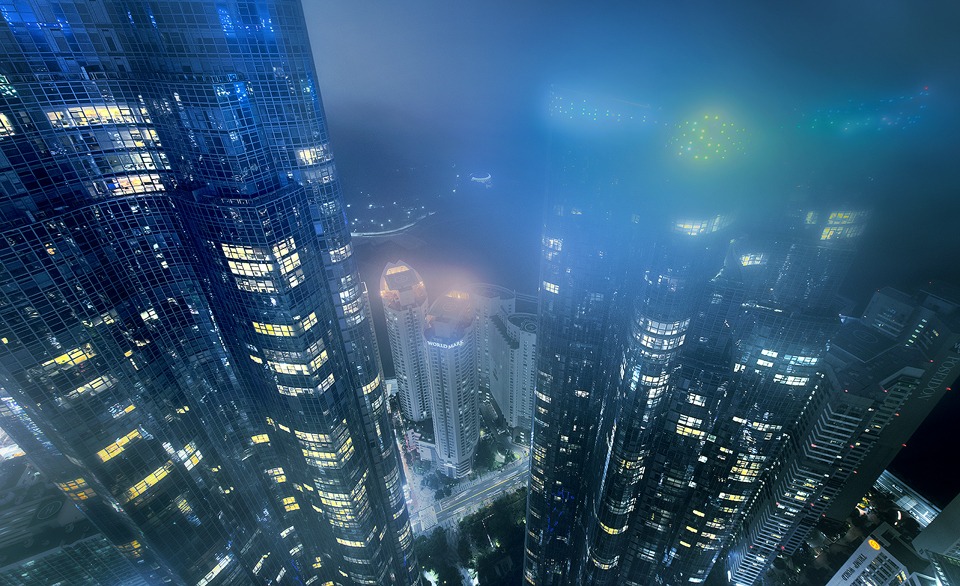
In The Clouds
Time to upgrade some photography gear
The next 12 months is going to be an extremely exciting time for me, photographically. I expect to be on the road for around 7-8 months, shooting in climates ranging from hot and dry to cool and wet. I decided that now’s the time to start upgrading/replacing/buying new gear in preparation for the big adventure.
I finally got around to buying an adapter for my Sony A7, which will allow me to use my Nikkor lenses. It hasn’t arrived in the post yet but I will let you know if it is any good once I have a play around with it.
Rachel will be shooting with this camera in New Zealand. One thing I’ve been debating is whether or not to purchase the 16-35mm f/4 Vario-Tessar as the go-to wide angle for the A7, or get another 14-24mm f/2.8 Nikkor lens. My thinking is that we have at least 4 astro-photography sessions planned, and I worry that the f/4 of the Vario-Tessar won’t be a big enough aperture for such low light conditions.
Needing a new ball head, I rather absentmindedly purchased a Manfrotto pano head, not realising it didn’t use an Arca-Swiss quick release, so my D800 L-plate doesn’t fit on it. In the end I purchased a decent Sirui K-10x head for my D800 and Manfrotto tripod, and put the new Manfrotto head on my Benro travel pod. So all worked out well.
I also added a new torch and a new headlamp to the 220 lumens headlamp which I already have (and absolutely love).
My favourite purchase has to be the Lowepro Vertex 200 camera bag. This thing’s amazing. I’ve been meaning to get it for a long time but the previous Lowepro I was using seemed to do the trick (more or less). The Vertex is much sturdier, has a lot more space, is weather sealed and has a number of places for tripods.
One thing I haven’t been able to upgrade is the rather substandard Formatt Hitech 10-stop ND filter. I know some photogs like this filter and are happy to work around the very strong blue cast and vignette, but the cheap plastic quality and even cheaper plastic case made this my worst purchase of 2013.
I’m looking to move to Haida instead, as everyone I’ve met who uses their filters has nothing but great things to say. Hopefully I can pick up their filter system in Shanghai this month.
Lastly, I managed to repair the crack in the casing of 14-24mm lens for around $500, or £320, so it’s as good as new and fully weather sealed again.
Now I just need to sell my Canon 60d and 17-55 lens and I’ll be ready to hit the road!
________________________________________________________
How I Created The Image – Before/After Post-Processing
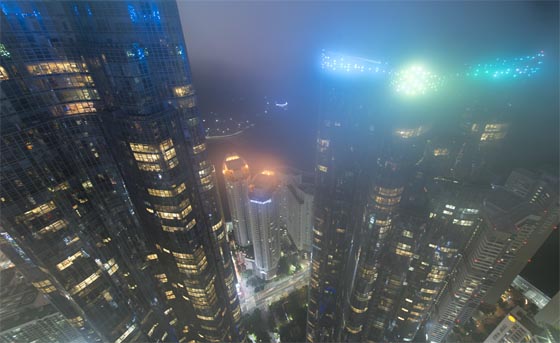
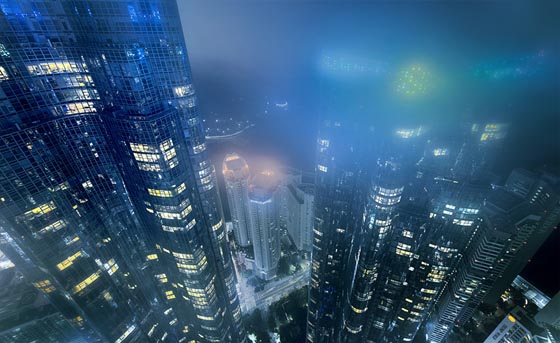
The Cool Bits – Technical Info
Processing Time: 15 minutes
Exposure Blending method: Apply Image in Raya Pro
No. of Exposures: 2
EV Range: -2 & 0
Aperture: f/5.6
ISO: 635
Focal Length: 14mm
Lens: Nikkor 14-24mm f/2.8
Camera: Nikon D800
Plugins: None
Luminosity Masks: N/A
Workflow Explanation – In The Clouds
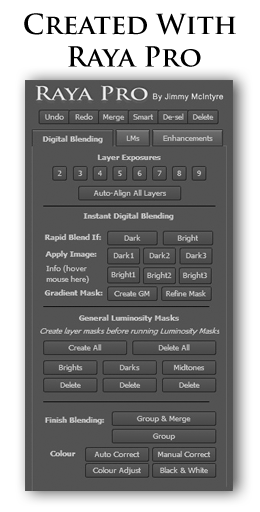
This image was created using Raya Pro – The Photoshop Plugin.
I used two exposures for this image, which were 2 stops apart. Layering them in Photoshop, with the darkest layer on top, I instantly blended the exposures to recover the highlights, using Apply Image in Raya Pro.
I wanted to be very creative with this image, giving it a rather surreal, futuristic cityscape.
I added the cool blue tones with the Blue Shadows button in Raya Pro (you can do this by opening a colour balance layer, going to shadows and raising the blues).
I then added a cool Orton Effect, again through Raya Pro, but lowered the Orton Effect layer to around 15% and the cool blue layer to around 50%. You can create your own Orton Effect with this tutorial: Quick Photoshop Secrets 7: How To Create a Dreamy Orton Effect
The scene was lacking in contrast, mainly because we were in the middle of some light clouds. I used a Curves layer to darken the image significantly, while raising the highlights a touch.
I then increased local contrast with the DB Details function in Raya Pro, to bring more details out of the buildings.
I really wanted to strengthen the lights in the buildings, which I hoped would emphasize the idea that there were pockets of life and activity in these otherwise scary, cold buildings.
To do this I went to Select>Color Range and made a selection of the yellows/oranges. This did a great job of selecting the apartment lights, which I then brightened enough for them to be strong, but not terribly over exposed.
After that I created a very light vignette, since there was little of interest in the outer parts of the image.
This entry was posted on Monday, August 3rd, 2015 at 2:23 pm
You can follow any responses to this entry through the RSS 2.0 feed.


Hey Jimmy, I’m definitely interested in your Nikkor on Sony experience. I’m currently shooting with a D810 but considering an eventual move to Sony. I can’t do this in one jump due to cost, but if I can use my current lenses (14-24, 24-70, 85, 105, and Sigma 50) on the Sony then I could make a slow transition over time swapping out one lens at a time. Let us know how it works for you.
I will do. It’s the Commlite adapter, which, going by the reviews, seems to do the job.
With reference to searching for a new 10-stop ND, have you looked at Breakthrough Photography’s X3 10-stop ND? It’s got extremely low color cast (almost undetectable) because of the SCHOTT Superwhite optical glass they use, it’s got 16 layers of MRC, the machining is brilliant (made from solid brass with a better knurl than most for easier removal), and while it still has enough front threads for a lens cap to grip well or another filter to screw on, it’s so thin that I get zero vignetting even down to 16mm. It’s also priced incredibly well. Their CPL is in a league of its own, too, IMO. And no, I don’t work for them 🙂
Thanks for the tip. I will look into Breakthrough Photography’s filters today. Should be an improvement on the Hittech filters.
Just wondering if you had a chance to check these out? I love mine, they beat the heck out of my previous B+Ws, Hoyas, and Lees. I was introduced to them by Art Wolfe. I’m interested in your opinion of them.
I can’t wait to see photos from your trip. Have a nice time Jimmy! Which places are you going to visit if you don’t mind?
Just a quick remark about your unhappiness with Formatt Hitech filters. Unlike the acrylic ones, their Firecrest filters are superb, showing little if any colour cast whatsoever. They use Schott Superwhite class and 15 layers of filter element. I have the 6, 10, 13 and 16 stop 100mm filters and they are sublime. I thought of maybe making some Color Checker Passport profiles with each of them in various lighting conditions to remove what little shift might still be there, but have yet to get that done.