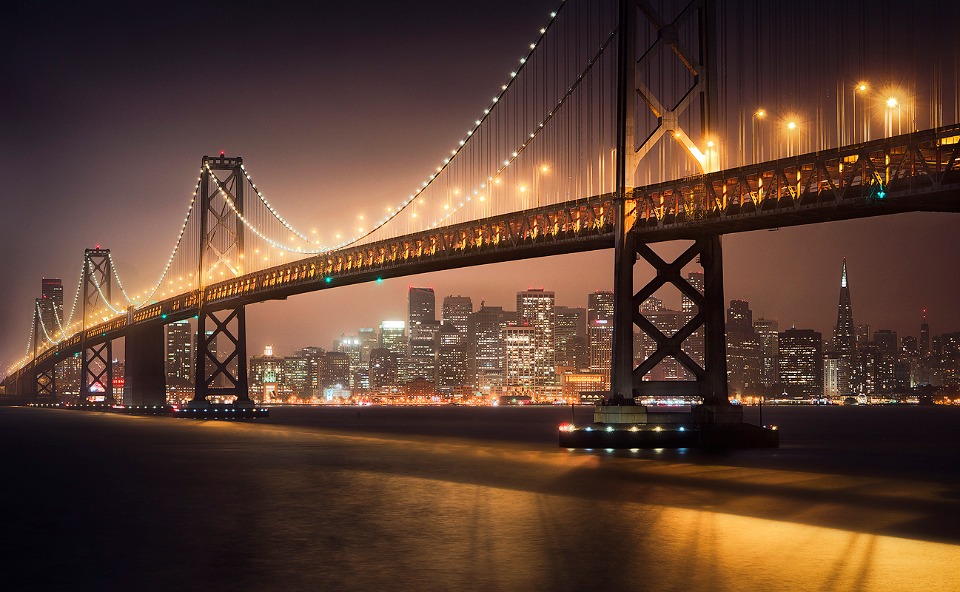
Bay Bridge Above San Francisco
New Journal 41 – Getting settled before shooting
We’re now mobile. A brief visit to an Enterprise today and we were armed with 4 wheels. An even briefer visit to the Apple store downtown and we were armed with an ipad mini – our new GPS unit.
Tomorrow our explorations of the North West coastline will begin – Cannon beach is first place on the list.
Before today’s adventure we were shown some Portland hospitality and local beers last night by two long lost friends we met in Korea. It was great to catch up. They’ve made it possible for me to attend an MLS match between the Portland Timbers and LA Galaxy on Saturday. It’ll be interesting to see how the Americans play football (notice my reluctance to use the word ‘soccer’)
I was in a toilet today in a bar. I saw some graffiti on the wall. Rather than the usual political or regional message, or sex hotline number, the hoodlum simply wrote ‘Shrek 2 was okay’.
I agreed. The first one was much better.
We live next to a restaurant that has both a human menu and a dog menu, including vegetarian dog dishes. To top things off, we live a few minutes from Mitten’s Motel, a lodging place for cats. Portland seems like an interesting city so far.
The Cool Bits – Technical Info
Processing Time: 1 hour
Processing method: Photoshop & Lightroom
No. of Exposures: 3
EV Range: -2, 0, +2
Aperture: f/8
ISO: 100
Focal Length: 44mm
Lens: Canon 17-55mm
Camera: Canon 60d
Plugins: Nik Color Efex for detail enhancement and contrast adjustments.
Lightroom: Color correction, vignette and contrast adjustments
Luminance Masks: Used for exposure blending
Photomatix Settings: N/A
Today’s Photo – Bay Bridge, San Francisco
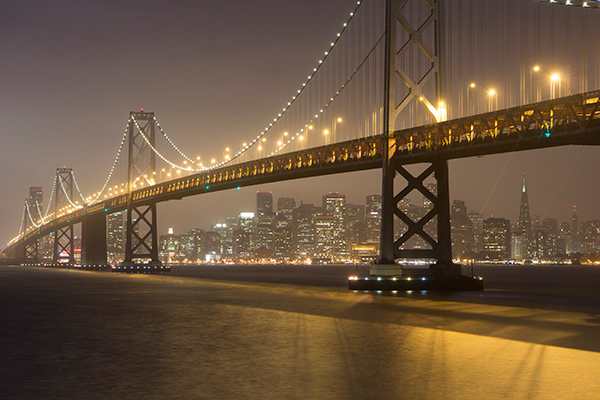
There was a lot of haze when I took this shot. After some specific contrast adjustments and a touch of dodging and burning, I managed to cut through the haze and bring some vibrancy to the scene. I decided on a strong vignette, added in Lightroom, because I felt that outside edges had little to add to the image. I then added some brightness to the city by using the Darken/Lighten Center filter in Color Efex. This added even more energy to the scene, which in my opinion, is an incredibly important characteristic of night cityscapes.
Thanks to Julien for the suggestion to add some extra blues to the shadows. It made a big difference.
Reminder – Download Luminance Mask Actions
You can download my 18 point luminance mask actions for Photoshop completely free – [wpdm_file id=1]
Available Tutorials:
Before the Joys of Post-Processing

This entry was posted on Wednesday, July 10th, 2013 at 6:39 am
You can follow any responses to this entry through the RSS 2.0 feed.


Thanks a lot Jimmy. Learning a lot from you, indeed. Quick question. I don’t have Photoshop, but my workflow includes Nik Collection + Lightroom. How do I use your Luminance Mask in this settings?
Hey there,
Luminance Masks are 100% dependent on Photoshop because they require layering functionality.
Thanks for inquiring!
Also one more Question Jimmy. How do you use dodge and burn to reduce the haze. To me it looks like remove the Haze has improved the image substantially.