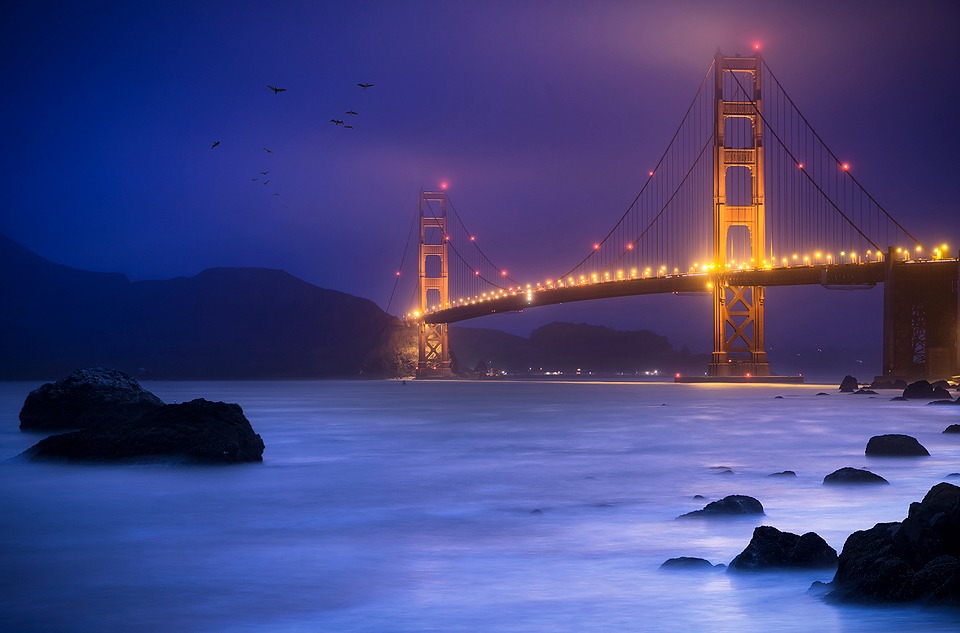
Long exposures under the Golden Gate bridge
New Journal 40 – Arriving in Portlandia
We finally arrived at the fabled land of Portland yesterday. Portlandia, a comedy TV show, bills Portland as hippyville, with organic loving Eastern medicine lovers who spend their time meditating and pursuing artistic endeavors.
We knew this was a stereotype. You can imagine our surprise when we arrived at our host’s (we booked accommodation through airbnb.com) place to find an acupuncture practitioner Buddhist who paints and loves organic food. She and her boyfriend are intensely relaxed, friendly and full of interesting stories.
Last night, we found ourselves in a small independent movie theatre with them watching a 1976 Clint Eastwood western with some beer and pizza. Clint spat a lot – he spat on a dog’s head 3 times, a scorpion, a man’s jacket and a horse.
Today we’re off to rent a car and hopefully buy an ipad. We’re also due to meet up with some long lost friends we met in Korea.
Let the adventures in Portland begin.
The Cool Bits – Technical Info
Processing Time: 1 hour 20 minutes
Processing method: Photoshop & Lightroom
No. of Exposures: 3
EV Range: -2, 0, +2
Aperture: f/4
ISO: 100
Focal Length: 55mm
Lens: Canon 17-55mm
Camera: Canon 60d
Plugins: Nik Color Efex for contrast adjustments.
Lightroom: Color correction, vignette and contrast adjustments
Luminance Masks: Used for exposure blending
Photomatix Settings: N/A
Today’s Photo – Long exposures under the Golden Gate bridge
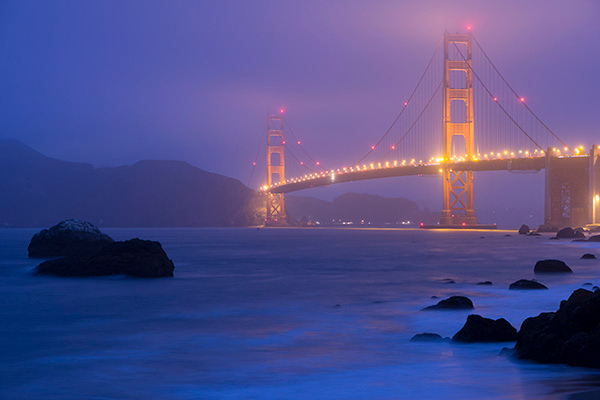
Then entire bottom half of this image was taken with the brightest exposure (+2 ev), while the rest was a combination of the 0 and -2 exposures.
A 30 second exposure was exactly what I needed to obtain the silky smooth water and to pull a necessary amount of details from the rocks.
Although I added a vignette around the image in Lightroom, I was careful not to darken the bottom right of the image. I felt that the powdery water rolling against the sharply edged rocks should highlighted and lead us all the way to the bridge.
The birds you see were added in from a shot I took on the same morning and were there to add something extra to an otherwise empty space.
Reminder – Download Luminance Mask Actions
You can download my 18 point luminance mask actions for Photoshop completely free – [wpdm_file id=1]
Available Tutorials:
Before the Joys of Post-Processing

This entry was posted on Tuesday, July 9th, 2013 at 8:33 am
You can follow any responses to this entry through the RSS 2.0 feed.


