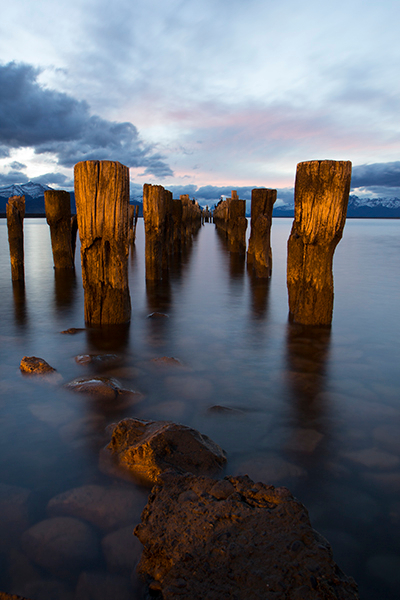
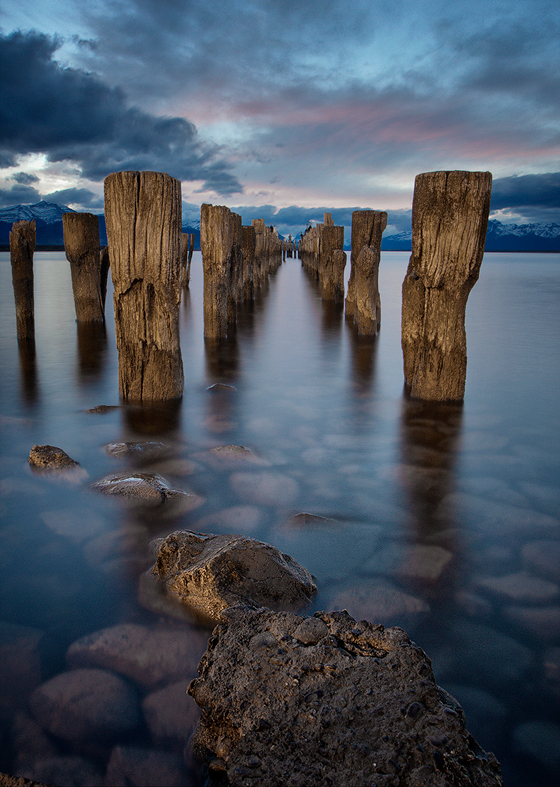
Wooden sticks
New Journal 15 – Trapped
The weather is our tormentor. We are still unable to cross the mythical border of Chile. We are stuck in limbo, forced to spend our evenings drinking wine and exchanging stories with fellow travellers.
There seems to be no end to the huge snow storm happening in the mountains. We are trapped. We could die here. I don’t want to die in Mendoza. It’s a lovely place but I’ve always thought I’d prefer to die on a boat like in olden times, which I may have invented in my head. I imagine a lot of people died in boats before electricity was born.
We have lots of thinking time right now. I’m not a particularly deep thinker. I had a couple of thoughts a while ago, though.
We could take a flight across to Chile. However, there’s an element of pride that won’t allow me to. Before this terrible storm, flights were going for around $65-$100. Now the cheapest one is $400. For a one hour flight, it seems a bit excessive. But it looks like the only option if we want to have enough time to really enjoy the Atacama desert and Santiago.
The next 24 hours will determine what route we take. Sooner or later, we’ll be on our way again in full exploration mode.
The Cool Bits – Technical Info
Processing Time: 1 hour
Processing method: Photoshop & Oloneo Photoengine
No. of Exposures: 3
EV Range: -2 0 +2
Aperture: f/9.1
ISO: 250
Focal Length: 17mm
Lens: Canon 17-55mm f/2.8
Camera: Canon 60d
Plugins: Nik Color Efex for, Detail extraction and shift in lighting & Topaz Clarity for contrast adjustments
Luminance Masks: N/A
Photomatix Settings: N/A
Today’s Photo – The sticks
As with other images of this pier, I had to make large colour corrections to reduce the orange/yellow cast on the sticks from the street light behind. Apart from that, no colour was added the sky or water. It really was that lovely. The beauty of shooting under these conditions is that we can use long exposure times without a filter, to capture that soft water surface. Shortly before sunset, that is a tad more difficult since there’s significantly more light.
Reminder – Download Luminance Mask Actions
You can download my 18 point luminance mask actions for Photoshop completely free – [wpdm_file id=1]
Available Tutorials:
Before the Joys of Post-Processing

This entry was posted on Friday, May 31st, 2013 at 2:11 pm
You can follow any responses to this entry through the RSS 2.0 feed.


Jimmy, another great image from you!!! How do you adjust the colours in your images? I mean the saturation? How do you maintain the tonality and saturation as a single entity…? I am really struggling with it… How do you setup an absolute WB and is it necessary to set it up correct all the time?
Hi Mihir, thanks for the kind words. It all really depends on the image. Sometimes I’ll correct in Adobe Camera Raw and then make more specific changes as the workflow progresses. Other times I’ll establish a 50% grey point and work from there. I wouldn’t say it is necessary to set up an absolute WB because sometimes warm or cold colour casts can really add to an image. Each image demands its own approach and I suppose it’s something that comes with time and practice.