The Scary Tunnel
No-Man’s-Lands Journal Day 19 (Travel Diary Day 285)
We are in the final phases of organising our journey. So far we’ve got plans to meet up with a good number of photographers along the way. We love the idea of sharing the adventure with others. If you’re US based, feel free to get in touch and join us at some point.
The Cool Bits – Technical Info
Processing Time: 1 hour
Processing method: Photomatix, Luminance Masks
No. of Exposures: 3
EV Range: -2 0 +2
Aperture: f/8
ISO: 100
Focal Length: 10mm
Lens: Sigma 10-20mm
Camera: Canon 60d
Plugins: Nik Color Efex for Contrast adjustments, detail enhancement and shift in lighting.
Luminance Masks: Used to create fine contrast adjustments throughout the image.
Photomatix settings: Choose Default. Increase Strength to 100, Decrease Saturation to 35, Luminosity to 1, Lighting Adjustments to 3.5, White Point to 0 and Gamma to 82.
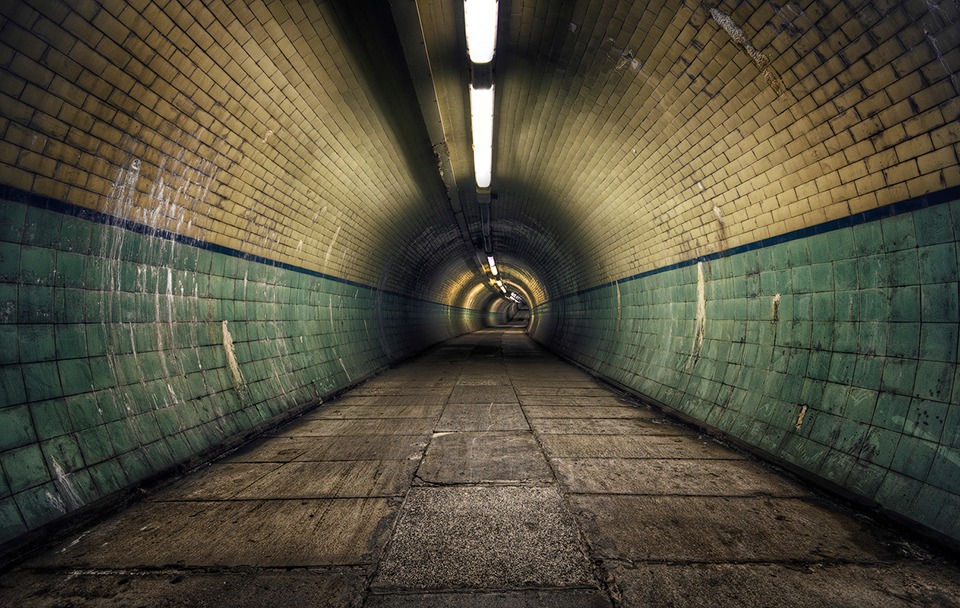
Today’s Photo – A scary tunnel
This tunnel only has a few more months left in its current incarnation. This time next year it may look brand spankingly new. Any photographers in the North East, I strongly recommended you get there while you have a chance.
Tip of the Day – Manually Focus Every Time
For probably 90% of my images I use manual focus. While modern lenses are often great at focusing quickly and accurately under favourable light, they all become less efficient as the light fades. Nothing beats the human eye.
To do this most effectively, use Live view and zoom in onto an area of focus. For landscapes and cityscapes, especially at a high aperture, it’s often most beneficial to choose an object in the far distance as your point of focus if you want an even level of focus throughout the image.
Available Tutorials:
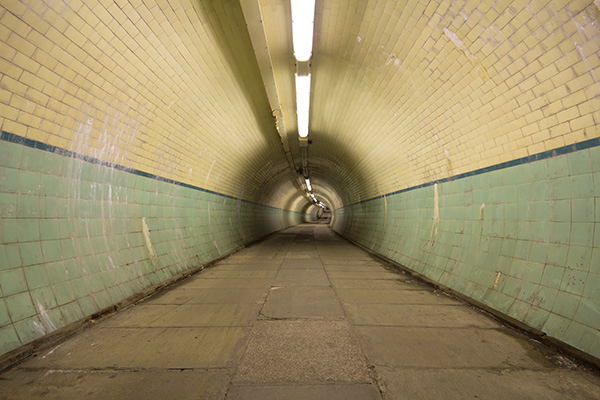
Before the Joys of Post-Processing

This entry was posted on Wednesday, April 24th, 2013 at 2:23 pm
You can follow any responses to this entry through the RSS 2.0 feed.

