A Lonely Lighthouse – Workflow Included
A Lonely Lighthouse
We were running slightly late for sunrise on Sunday morning. It was dark. Most of my photography companions were heading out of the hotel toward the main path. I was being detained, unfortunately. As I walked down the stairs at the back of the group, I found I could no longer move. Something was pulling me back. I turned around to find that a Bernese Mountain dog had playfully latched on to the scarf that was tied to my backpack. She’d decided that I was to stay and play with her rather than go out shooting.
In an attempt to free myself, I tried to distract her with a stick, but she was having too much fun to be interested in a boring stick. In the end, I had to wrestle her mouth open to regain my saliva-soaked scarf. She looked extremely pleased as she rolled over on to her back, wagging her tail.
The sunrise spot we found, for me, wasn’t great. I put my camera away early after only a few shots, and took out my flask of tea. In the past I used to feel frustrated by failed shoots like this. Nowadays, however, I’m grateful for having the opportunity to watch the dawn break from such beautiful locations.
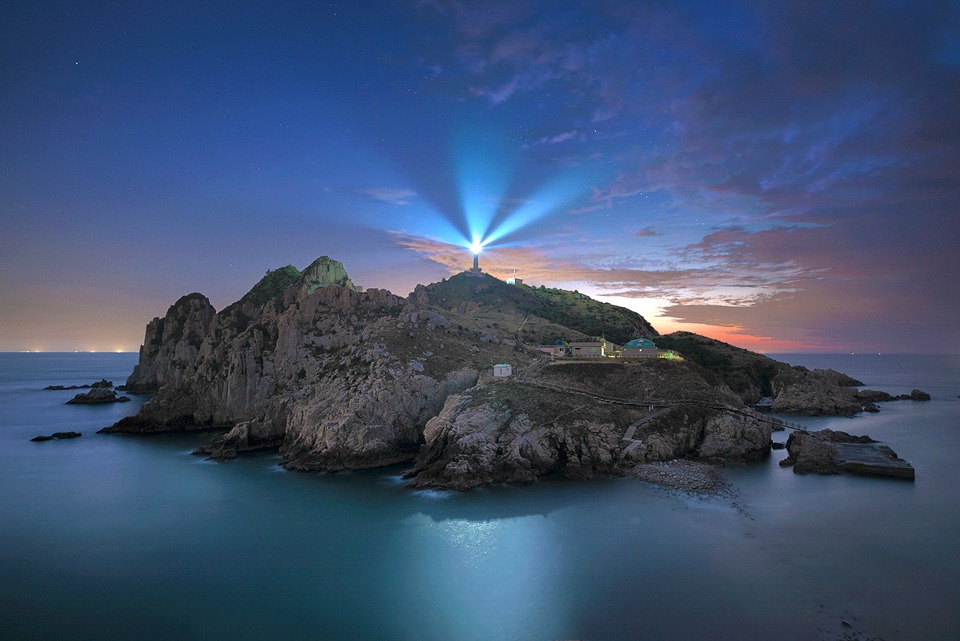
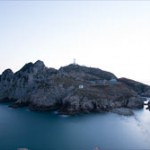
The evening before, we were sitting on a cliff edge with a perfect view of the island you see above. As the sun set, the others headed down to work their magic among the rocks below. I stayed and watched the fishing boats come and go, the path to the island slowly disappear under the encroaching tide, and bats above me, greeting the new evening.
It was the perfect spot to catch up on some meditation that I hadn’t had the chance to practice for a couple of days.
After shooting we headed back to our hotel. A group of Koreans were eating and drinking out on the terrace. They kindly invited us to join them. By accepting this type of invitation from a Korean, you are agreeing to being fed well, while also being plied with enough alcohol to make you feel the breath of death on your neck the next morning.
Most of us politely declined, choosing a quiet beer instead.
It was a fun trip and I was very relieved to find that my camera and lens worked perfectly after dropping them in Osaka, Japan.
The Cool Bits – Technical Info
Processing Time: 45 minutes
Exposure Blending method: Rapid Blend If & Luminosity Masks
No. of Exposures: 8
EV Range: N/A
Aperture: From f/2.8 to f/7.1
ISO: From 200 to 1,000
Focal Length: 20mm
Lens: Nikon 14-24mm f/2.8
Camera: Nikon D800
Plugins: Topaz DeNoise & Nik Color Efex
Luminosity Masks: Used to recover the over-exposed areas in the long exposure water
Post-Processing Explanation – Somaemuldo island, South Korea
To learn my post-processing techniques, feel free to check out my courses: The Art of Digital Blending & The Art of Cityscape Photography
I sat on the cliff edge for over an hour with a very clear image of what I wanted from this image, and bringing it to life in post was a lot of fun.
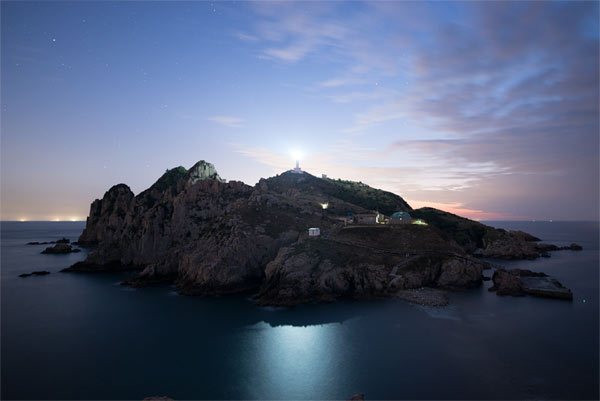
You can see the base image I used for the shot in the before/after below, and the other 7 exposures beneath that.
I was looking for a silky-smooth long exposure foreground that would contrast nicely with the textured rocks of the island. I managed to capture exactly that shot just after sunset with 2 exposures (25 f/5.6 & 30 f/7.1 seconds), one for most of the water and a darker one for the right-hand-side of the water which was over exposed. For an article on how to achieve different water effects, please see: Reflections, Smooth, Frothy – How To Photograph Water To Get Different Effects
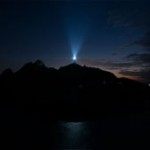
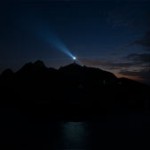
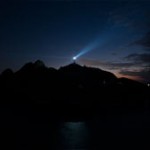
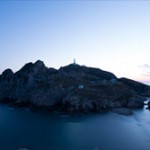
Next, I had to wait 35 minutes for the sky to darken into a deeper blue hour so that I could capture the base image (used for the island and some of the water), and 2 darker exposures for the sky. Finally, ten minutes later, the sky was dark enough, and the light from the lighthouse bright enough, for me to capture some clear beams of light. I used fairly quick exposures to capture the beams – 2 seconds to be exact.
In sum, the final image was composed of 2 long-exposures for the water, a base exposure, 2 for the sky to recover the highlights, and 3 for the beams of light.
In post-processing I layered the two long exposures, using the brightest as the base layer and placing a black mask on the darker exposure. I then used Luminosity Masks to paint in the darker exposure over the over-exposed area of the sea on the base layer. Then I merged these to make a final long exposure layer.
Next I opened the 3 main exposures shot at blue hour in ACR, and brought up the shadows slightly on the base/brightest layer. Then I layered them in Photoshop with the brightest on the bottom and the darkest on top. To blend these layers, and thus restore the blown out sky in the base layer I used the Rapid Blend If technique. This very quickly created a balanced image with restored highlights and no under-exposed areas.
While the base layer already had relatively smooth water, it was also slightly grainy and too dark. Rather than completely replacing this with the water from the long exposure shot, I placed the LE shot on top of the existing layers, created a black layer mask to make it invisible, and then gently painted some of the water in at 50% opacity. This allowed me to maintain the light reflection from the beam of light in the centre of the water which is visible in the base layer, while also brightening and smoothing the water.
I then took the three darker exposures for the beams of light, placed them at the top of the layers, and changed their blend mode to Lighten. This wonderful tool allows you to keep the brightest pixels while removing everything else. So the darker exposures disappeared, leaving only the beams of light. You can see it in action below in one of my most popular tutorials:
To bring out a tiny bit more detail from the island, and add contrast between the water and rocks, I used Nik Color Efex’s Pro Contrast filter. With a Levels layer I then lifted the midtones to brighten the image. I used a Vibrance adjustment layer to gently increase the saturation of the blues and pinks.
And finally, I used a soft noise reduction layer in the sky and water. Shooting at an ISO of 1,000 left a little bit of noise that was easily cleared up using Topaz Denoise.
All images used in post-processing

This entry was posted on Monday, November 24th, 2014 at 2:55 pm
You can follow any responses to this entry through the RSS 2.0 feed.



great tutorial Jimmy, Thank you
Thanks Adrian. I hope Boracay was amazing!
One cant appreciate the work gone into the original until you read the tutorial. Thanks for another great one.
I’m glad you found it useful!!
Beautiful image. I have your digital blending course and it’s fantastic. A lot to get your head around though to do it properly like you do, you make it look so easy!
Grazie del tutorial mr Jimmy, davvero interessante !
Thank you !! !
Again an awesome image, thanks for sharing Jimmy! Unfortunately I can’t quite follow your instructions on how you did the blending… I don’t understand in above text which images you blended when. Maybe you could use image numbers and e.g. when you say “In post-processing I layered the two long exposures, using the brightest as the base layer and placing a black mask on the darker exposure.” you could say that you “layered images 1 and 2”?
Hey Jimmy. I love your instructional videos. Thanks for replying so quickly to some of the inane questions with which I emailed you. I took the liberty of writing a blog about you. Hope you don’t mind. http://blog.englebright.biz/through-strange-lenses/
Lovely article Jimmy. Great to read about the behind the scenes stuff and especially see your raw shots.
Thanks a lot Peter!!
Very useful instruction on how you achieved this great image. Thank you.
Great article, I really love that you take the time to show us what these great shots started out from. This article alone has given me some ideas not only on how to reprocess shots I already have but how to better prepare for future shoots. Thanks to you, I’m a better photographer today than I was yesterday!